
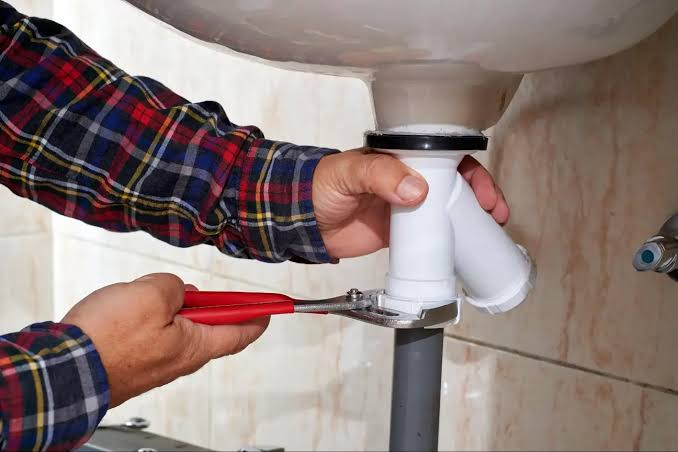
Upgrading the plumbing system in an old house is one of the most impactful home improvement projects you can undertake. Old pipes often bring hidden problems like low water pressure, leaks, rust contamination, unpleasant odors, and even structural damage inside walls or floors. While full plumbing replacement may sound intimidating, beginners can still understand the process clearly and plan it step by step with the right approach.
This guide explains how old house pipe replacement works, what to expect, and how plumbing upgrades are done safely and efficiently. It focuses on practical understanding so you can confidently plan or supervise a plumbing renovation project.
Understanding Old House Plumbing Systems
Old homes typically use outdated pipe materials such as galvanized steel, cast iron, or even lead in very old constructions. Over time, these materials corrode, narrow internally, and lose efficiency.
Common signs that a plumbing upgrade is needed include:
- Rust-colored or discolored water
- Frequent leaks in different areas
- Low or inconsistent water pressure
- Noisy pipes or vibrations in walls
- Visible corrosion on exposed plumbing
Understanding the existing system is the first step before any replacement begins. A full inspection helps identify which parts of the plumbing are failing and which can still be reused.
Step 1: Inspect and Map the Existing Plumbing System
Before replacing any pipe, you need a clear map of the existing system. This includes water supply lines, drainage lines, and fixture connections.
A proper inspection involves:
- Checking visible pipes under sinks and bathrooms
- Inspecting basement or crawl space plumbing
- Identifying pipe materials used in the house
- Locating shut-off valves and main water entry point
In older homes, plumbing may have been modified multiple times, so the layout is often inconsistent. Mapping helps avoid unnecessary demolition and ensures smoother replacement planning.
Step 2: Planning the Pipe Replacement Strategy
Once the system is understood, the next step is planning the replacement approach. There are generally two methods: full repiping or partial replacement.
Full repiping involves replacing all water supply lines throughout the house, while partial replacement focuses on only damaged or high-risk sections.
Important planning considerations include:
- Budget and material cost
- Accessibility of pipes inside walls
- Number of bathrooms and water outlets
- Future expansion or renovation plans
At this stage, modern materials like PEX, CPVC, or copper are usually chosen to replace outdated piping systems.
Step 3: Shutting Down Water Supply and Preparing the Site
Before any physical work begins, the main water supply must be shut off completely. This prevents flooding and accidental damage during pipe removal.
Preparation steps include:
- Turning off the main water valve
- Draining remaining water from pipes
- Clearing work areas near plumbing lines
- Covering furniture and flooring for protection
This stage is essential for safety and cleanliness, especially in occupied homes.
Step 4: Removing Old Pipes Carefully
Old pipe removal is often the most delicate stage of the process. Pipes may be embedded in walls, floors, or ceilings, making careful removal important to avoid structural damage.
Techniques include:
- Cutting exposed pipes using pipe cutters or saws
- Opening small wall sections where pipes run inside
- Removing fittings and joints gradually
- Labeling sections to understand routing
In older homes, pipes may be brittle, so controlled removal is necessary to avoid breaking surrounding structures.
Step 5: Choosing Modern Pipe Materials
Upgrading plumbing is not just about replacement but also improvement. Modern pipe materials offer better durability, flexibility, and water quality.
Common options include:
PEX piping, which is flexible and easy to install in tight spaces, making it ideal for retrofitting old homes. CPVC pipes, which are rigid and resistant to heat, are commonly used for hot and cold water systems. Copper pipes, while more expensive, offer long-lasting durability and strong resistance to corrosion.
Each material has its advantages depending on budget, water quality, and installation complexity.
Step 6: Installing New Plumbing Lines
Once old pipes are removed, new plumbing installation begins according to the planned layout.
The installation process includes:
- Running new supply lines through walls and ceilings
- Securing pipes with proper clamps and supports
- Connecting pipes to fixtures like sinks, toilets, and showers
- Ensuring proper alignment and spacing
During installation, attention must be given to slope and pressure requirements to ensure smooth water flow.
Step 7: Upgrading Drainage and Waste Systems
Drainage systems are just as important as supply lines. Old houses often suffer from clogged or poorly designed drainage systems that affect hygiene and functionality.
Upgrading drainage involves:
- Replacing old cast iron or clay pipes
- Ensuring proper slope for wastewater flow
- Installing modern PVC drainage pipes
- Improving vent systems to prevent gas buildup
Proper drainage design prevents long-term issues like blockages, odors, and slow water flow.
Step 8: Pressure Testing the New System
After installation, the entire plumbing system must be tested for leaks and pressure stability.
Testing involves:
- Filling pipes with water and pressurizing them
- Checking all joints and connections for leaks
- Running water through all fixtures
- Monitoring pressure consistency across outlets
This step ensures that the system is fully functional before closing walls or ceilings.
Step 9: Sealing Walls and Restoring Interiors
Once the system is confirmed to be working properly, any opened walls or surfaces are repaired.
Restoration includes:
- Closing drywall or masonry openings
- Repainting affected areas
- Reinstalling fixtures and fittings
- Cleaning the workspace
At this stage, the plumbing upgrade becomes visually invisible but functionally complete.
Step 10: Preventive Maintenance Planning
After upgrading old plumbing, maintenance becomes essential to ensure long-term performance.
Simple maintenance practices include:
- Regularly checking for leaks under sinks
- Cleaning drains periodically
- Monitoring water pressure changes
- Scheduling professional inspections when needed
Proper maintenance extends the lifespan of the new plumbing system and prevents future failures.
Common Mistakes Beginners Should Avoid
Many first-time plumbing renovators make avoidable mistakes such as:
- Ignoring proper pipe mapping before starting work
- Choosing incorrect pipe materials for specific conditions
- Skipping pressure testing after installation
- Improper sealing of joints and connections
- Not considering future maintenance access
Avoiding these mistakes ensures a safer and more reliable plumbing upgrade.
FAQs
How do I know if my old house needs pipe replacement?
Signs include rusty water, frequent leaks, low water pressure, and visible pipe corrosion. These indicate that the plumbing system is deteriorating.
What is the best pipe material for old house renovation?
PEX is often preferred for flexibility and ease of installation, while copper offers durability. CPVC is also commonly used for hot and cold water systems.
Can I replace house plumbing myself as a beginner?
Small repairs may be possible, but full house repiping usually requires professional help due to complexity and safety considerations.
How long does a full plumbing replacement take?
Depending on house size and complexity, it can take from a few days to over a week.
Is plumbing upgrade worth it in old houses?
Yes, it improves water quality, increases system reliability, and prevents costly future damage.
Final Thoughts
Replacing old house plumbing is a major but highly valuable upgrade that significantly improves comfort, safety, and long-term property value. While the process involves multiple technical steps, understanding the system and planning carefully makes it much more manageable.
With proper inspection, modern materials, and structured installation, even old and failing plumbing systems can be transformed into efficient, reliable infrastructure that supports modern living standards for years to come.